We are genuinely excited about this house. Well, it ebbs and flows based on the progress. We believe the look is coming along.
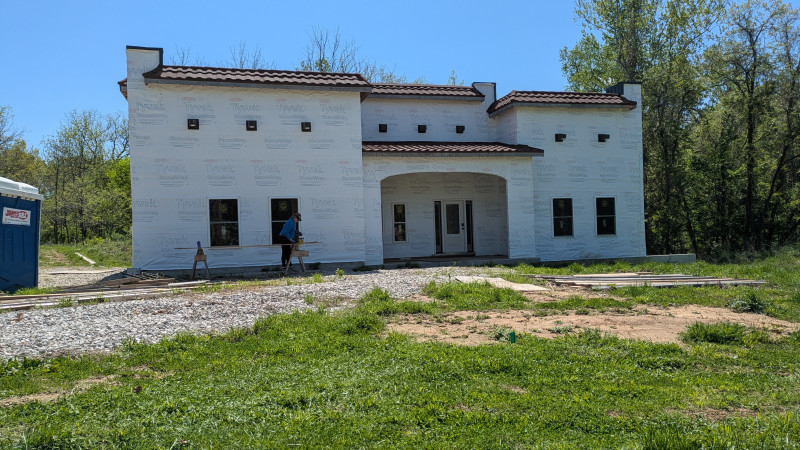 Today we’re thrilled as we are getting work done ourselves. We wanted bead board for the ceiling of the front porch. We noticed the builder delivered it and we didn’t waste any time getting out there to start staining the boards to make them read for installation. We chose a dark stain.
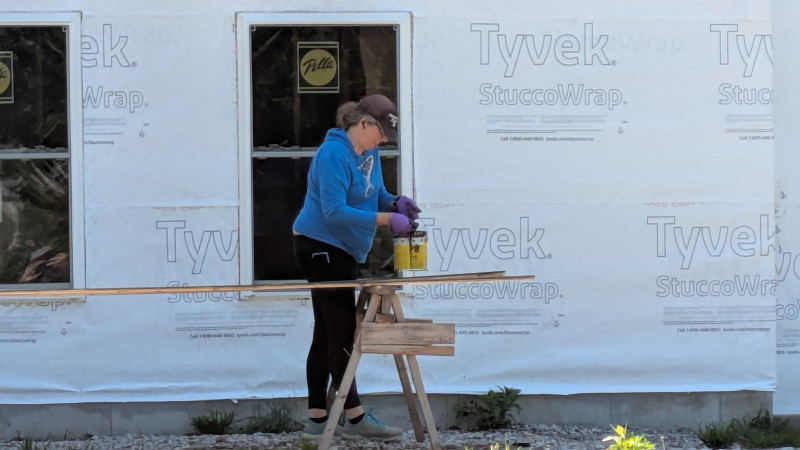
We started on a Sunday. Danelle set things up and started staining on a pair of saw horses while I was mowing the grass. Progress was very slow with one person doing all the work. Once I finished mowing, I promptly entered the staining work (when I wasn’t taking photos).
We are using a dark stain and decided a single coat was what we wanted. Our process went as follows once I joined.
First I would bring out the unfinished wood and stack in on the saw horses. We had approximately 10 pieces of unfinished wood stacked plus the 1-2 pieces actively being worked on. When supply got low of unfinished wood, I would go into the garage and bring out more.
It started with me using a paint brush to apply a base amount of stain on the boards ahead of Danelle. I tried to get the wood 90% covered with some pooling in the middle. I would go down the length of the whole board and then start the next board when finished.
Danelle followed behind me slowly with a rag pushing the stain into the wood and getting rid of the pooled stain and air bubbles that came up. When she finished, I would take the stained wood away and lay it on some boards on the ground to dry. Then re-arrange the wood to have all of the pieces easy to access.
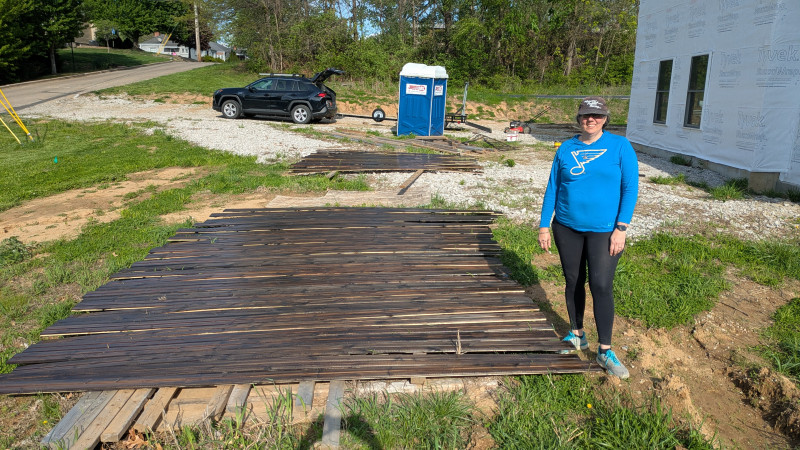
This process served us well and we finished quicker working together. Below is Danelle standing with one pile of the stained wood laid out to dry.
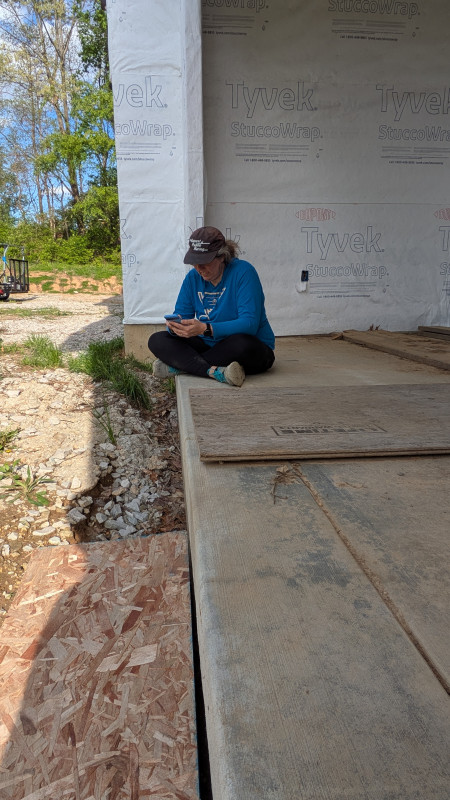
Since its under construction, we don’t have any chairs, so we took a break sitting on the porch leaning against the walls in the limited shade. Its harder work than I expected it to be.
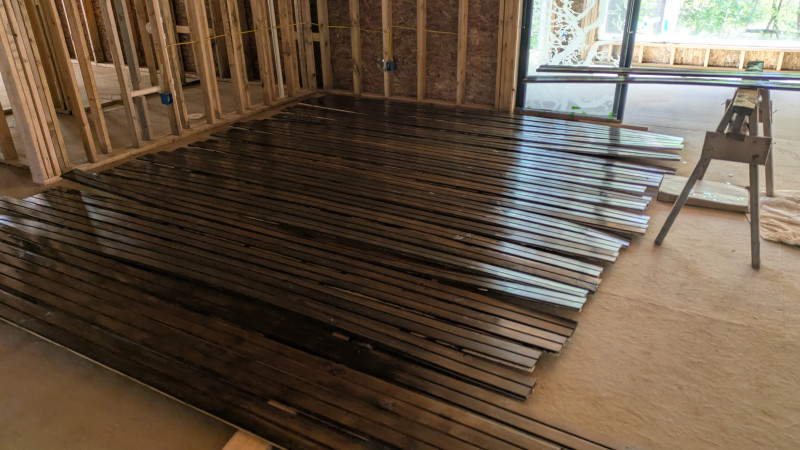
Haha, you thought we were done, not even close. With most of the boards dry, we were ready to go home. First we took a few boards at a time and walked them into the living room inside. There they were carefully laid out back on the floor to finish drying and stay out of the elements.
Over the next two days, Danelle went back up to the house and carefully moved each board to apply polyurethane on the boards. This makes them shine and protects the stain from the elements. There were somewhere around 75 boards of 12′ length. We didn’t want to bang them against the front door or framing to damage them.
Below is the final result of them drying inside the house, thanks Danelle for your hard work.
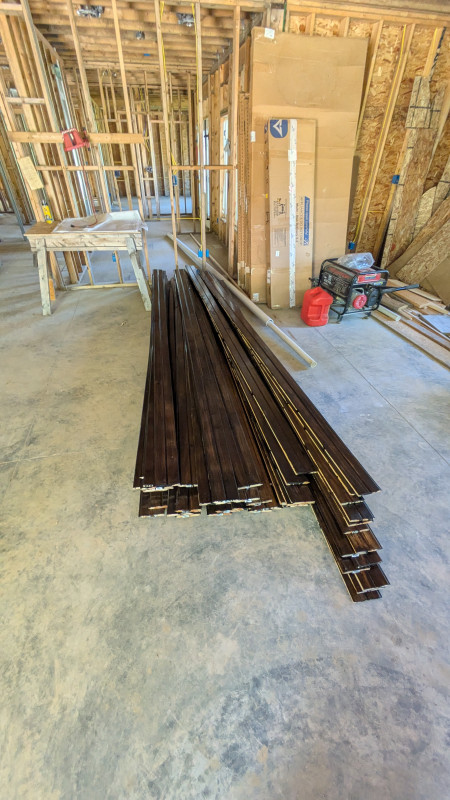
And we’re still not done. The boards are in the way of construction. On day 4 (in a row) of the project, I went after work and moved the boards 3 at a time to move them (now dry) back into the garage stacked and ready to be installed. This was a lot of trips. I had to walk them out of the front door and around into the garage to ensure I didn’t hit any walls. Below is the finished product ready to install.
For as long at this took us, I’m glad I wasn’t paying a general laborer to do this work. I’m sure this saved us many hours of labor and we were excited to do the work and put our touch on the house. Just the same, we’ll let them install it.
If you want to see what the staining looks like, starting at 16:26 in the video below, you can see a time lapse of the staining process.
Hogan Haake